Showing posts with label HDR Efex Pro 2. Show all posts

Wednesday, July 22, 2015

Going to Photoshop World? Like HDR? Head to Nelson!


Continuing the lead up to Photoshop World 2015 in Las Vegas. I've posted before about checking out the Old Ghost Town in Nelson, Nevada. So if you're heading to Vegas for PSW2015 then definitely take the time to head down there, especially if you like HDR. Even if you don't like HDR there's a ton of shooting opportunities out there.

I'm a fan of HDR and the Old Ghost Town had been on my list for a long time. I finally got there last year for the first time, and I was like a kid in a HDR candy store! I was bracketing left, right and centre!! (I know, I know...insert groan here)


Tons of old buildings and run down cars & trucks, lots of texture, overall a fantastic setting to shoot. But don't forget, you won't be the only photographer there, so make sure you bring some patience and respect for others who are there to enjoy this place as you are.


Cheers!

DC

Monday, March 2, 2015

Ghost Town - Nelson, Nevada (Part 3 "The Post")

The third, and final part in this series is the "The Post." The following video tutorial walks through how I created the final image. It goes from Lightroom to HDR Efex Pro 2 over into Photoshop CC, and back into Lightroom.


Cheers!

DC

Monday, February 2, 2015

Ghost Town - Nelson, Nevada (Part 2 - "The Shoot & The Gear")


Following up from my previous post "The Shot" (above). This time I'll walk through the "The Shoot and The Gear."

After we arrived and got checked in at Nelson this was the first spot I saw that I wanted to shoot. It might have been the big Coca~Cola sign that drew my attention, it may have also been the overall shape of the barn. As soon as I looked at it I saw a very simple composition.

I knew I wanted to put the peak of the roof in the upper left hand third, which meant positioning myself on the right. I started with my tripod in it's full height position, but after trying a few test shots I lowered it by about a third. This gave me a bit of an upward looking view, which put the peak of the roof where I wanted it in the frame.

It was just past 6:00 pm so the light was beginning to fade, so it was a great time of day to shoot. I knew even before coming to Nelson that I was going to be bracketing every shot and have a little HDR'fest. Even if I wasn't going to do any HDR, but just single exposures, I still would have bracketed multiple shots. I didn't know when I was going to be back so getting a range of exposures provides some latitude to play around with in post.


As you can see from the above image I shot a 7 bracket set (-3, -2, -1, 0, +1, +2, +3) and I've highlighted the exposure value for each image. You'll also notice that these are NEF's so I was shooting in RAW, which provides for maximum flexibility in post. Again, I didn't know when I'd be back so I wanted to give myself the best chance for the best outcome in post.

You can also see that the +2 and +3 images are really blown out, but look closely inside the open door of the barn. In the other exposures there is no detail to be found, but at the high end I was able to get some of that interior detail. Also, check out the sky in the -3 shot. This has a nice natural gradient as the light was fading. So basically I chose 7 shots because I thought that would give me enough range to grab all of the detail from the shadows and highlights.

There's so much really cool stuff to shoot there that I could have stayed a lot longer, but it was getting dark, and our stomachs told us it time to feed them! ;)

The Gear - I was shooting with a Nikon D810 fitted with a Nikon 16-35mm f4. Shot in aperture mode, 16mm @ f6.3. This was my first real outing with the D810 and I'm very happy with how it performs.

Stay tuned for Part 3 - "The Post", where I'll walk through how I mashed all 7 exposures together to create the final image.

Cheers!

DC

Monday, January 26, 2015

Ghost Town - Nelson, Nevada - Part 1 "The Shot"


While I was attending Photoshop World 2014 in Las Vegas last September I finally got the chance to head down to the old Ghost Town in Nelson, Nevada. However, if you punch "Nelson, Nevada" into your GPS you'll get nothin'! Good thing I had a travelling companion that day who told me it was actually called "Searchlight, Nevada" ...thanks +Deb Uscilka! Punched in "Searchlight" and away we went!

If you do go, and it's your first time, be sure to sign-in at the main store. There was $10.00 charge, which is really nothing compared all of the great photo opportunities there. And believe me when I tell you we were not the only ones there that Friday night.

After we checked in this was this first location that I set-up to shoot. As the post title says this is Part 1 "The Shot". I'm going be trying something new here on the blog where I'll take one image and follow it with a 3 part series. I'll walk through "The Shot", "The Shoot & The Gear" (what I used and how I got the shot), and finally "The Post" (post processing to make the final image).  So stay tuned for Part 2 shortly where I'll talk about how I got the shot.

Cheers for now!

DC


Sunday, September 23, 2012

I Broke a Cardinal Rule of HDR...But Really, It Wasn't My Fault


One of the cardinal rules of HDR photography is to always, always shoot with a tripod...and I always do, except for when I can't...or more importantly when I'm not allowed to.

It's obvious that we use a tripod to have a stable platform, especially when shooting multiple exposures for HDR images because we want to minimize any camera movement so all those exposures will align properly in post. However, there are some really great places to shoot, usually inside, that will not allow you to use a tripod or a monopod. Dundurn Castle in Hamilton is one of these places.


I found myself there not too long ago and saw that they do regular tours, but they don't allow tripods (or monopods) as the place is over 175 years old. It's an historical site and preservation is critically important.


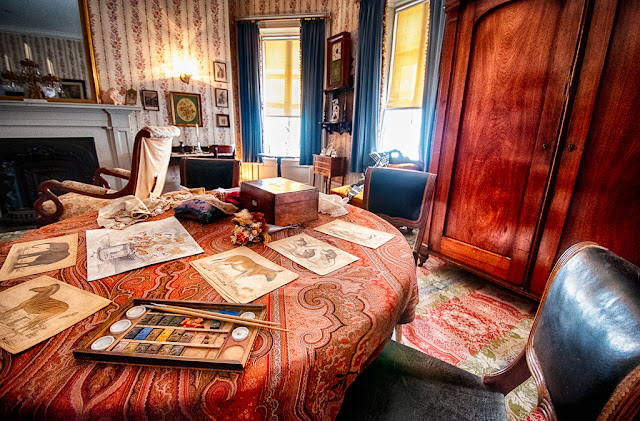
So I'm inside, with some really good natural light, but in a number of rooms it was a little spotty. Knowing that I was going inside I immediately thought HDR would be my best bet to draw out all of the tones that a single exposure would leave behind. But without a tripod I had to shoot handheld. This is where things got a little tricky.


I had to raise my ISO to 1600 and sometimes push it a little bit further so noise was going to be an issue. I was shooting a 5 exposure bracket and my wide open exposures were getting up to 1/10th and sometime 1/5th of a sec...yikes! Handheld at 1/10th and 1/5th? That for sure will cause some issues. I was shooting with the Nikon 10-24mm wide angle lens at the 10-12 mm end, as well as bracing myself to walls, doorframes or anything else I could find, so I was hoping that I would be able to get away with a few of those exposures.

I was pleasantly surprised find that I had a few that worked out pretty well. More than I was expecting. However, some were a little soft with the slower shutter speeds...oh well, it wasn't my fault remember?!?


I got to try out Nik Software's HRD Efex Pro 2 for the first time and I'm totally sold on it! I love the new features. Finishing was done with Viveza and Color Efex Pro.

Cheers!

D